


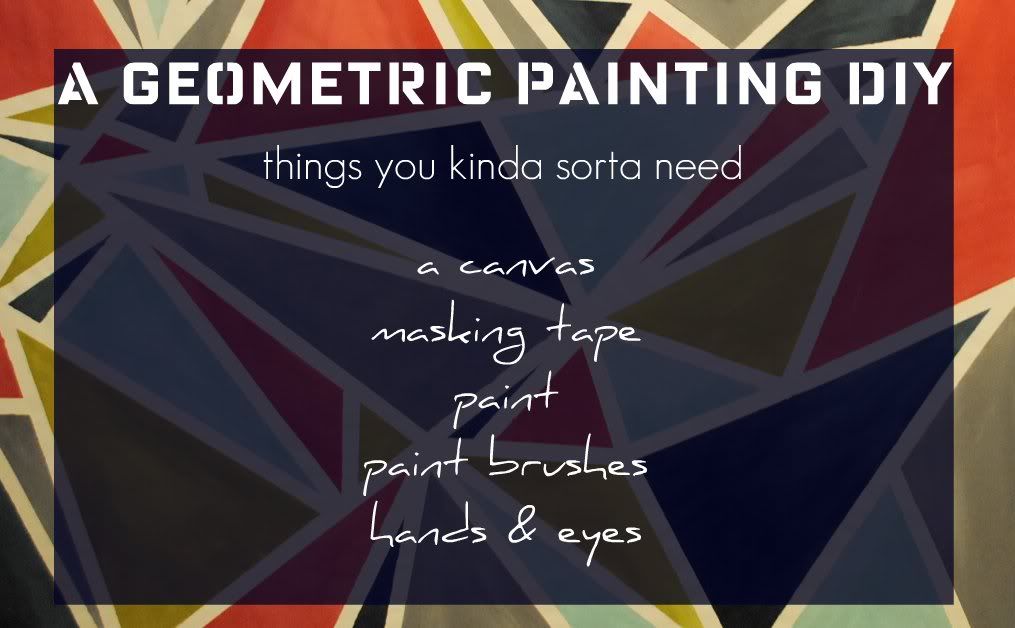
I'm kind of intro triangles. Okay, really into triangles. You've probably noticed but haven't said anything because you don't want to make me feel awkward or anything. It's cool, I know it's weird. To take my triangle love to the next level, the 3rd base kind of level, I decided to do a geometric painting as an ode to triangles. If you've got a fetish for triangles, or any geometric shape for that matter, you can do it too. Believe me, I have zero talent in pretty much all areas of life, so if you do it, show me a picture so I can see how much better your painting is than mine so I can secretly hate you. Anyways, here we go.
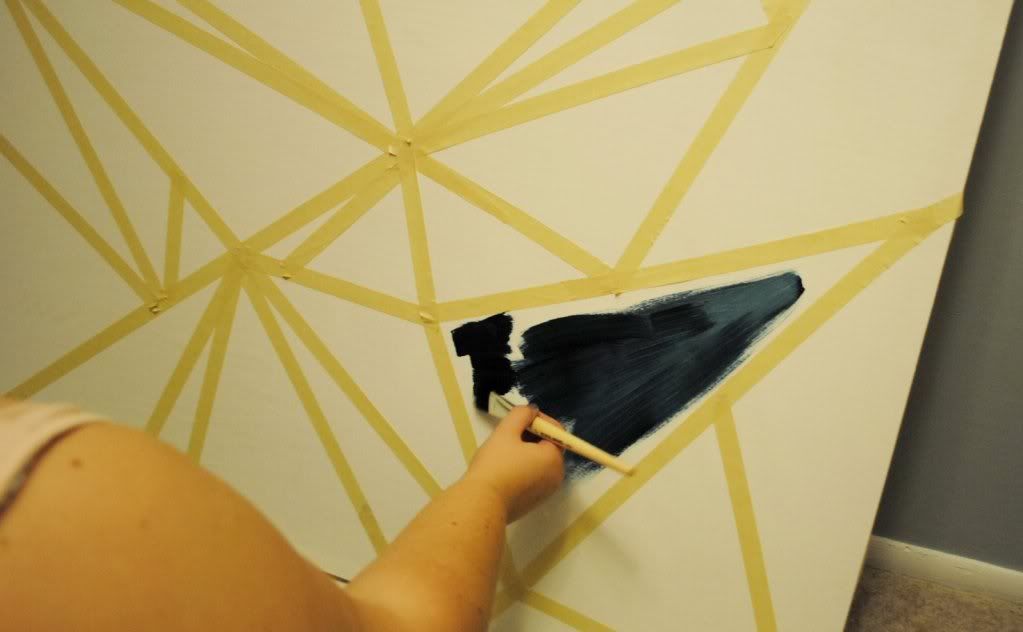
I'm poor. It's true. So whenever my husband is able to bring home craft supplies from his work, I get giddy. He told me they had some canvas material and wood, so he could build me a giant canvas. I freaked out. Doing this type of geometric painting is super easy but people will still be impressed and think you're talented. Just kidding, it's super hard and I have loads of talent in painting... and stuff. Just kidding, it's easy and I suck at life. SO, you need paint. I used tempera since that's what my husband brought home for me. Also, it washes off easily and I may or may not have gotten it everywhere when doing this...
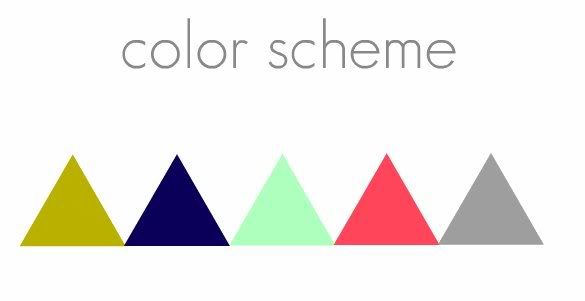 |
| I made this color scheme before I started painting. Are you impressed at how close it comes to the actual painting, cause I am. I came up with this color scheme before I started painting because I wanted to make sure all the colors looked good together. Also, since I was going to be painting such a huge canvas, I needed the colors to be cohesive with the rest of my living room. I highly suggest mixing large quantities of your paints before hand. I used to always come up with an awesome color and then would run out of it and couldn't quite get the same color again. So now I mix large quantities and store the paint in water bottles. See, sometimes I learn from my mistakes! |
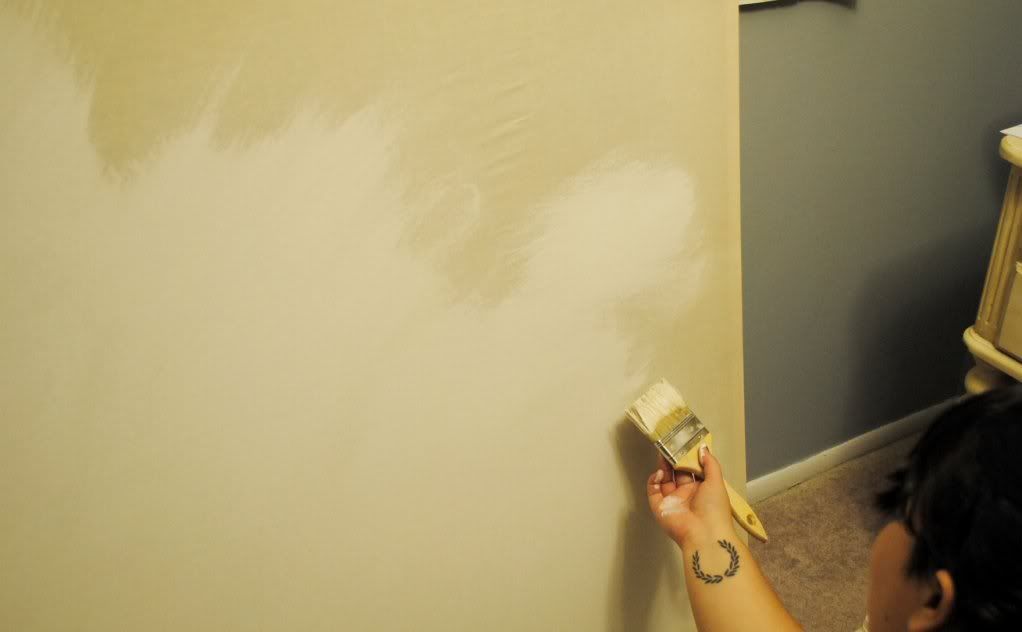
If you buy a real canvas, it will most likely already be white. I had to paint mine white. I had to paint it white three times actually. It was annoying. If you don't want your lines white, then paint your background whatever color you want, just remember, you will be painting your shapes over this color so you need to take that into consideration.
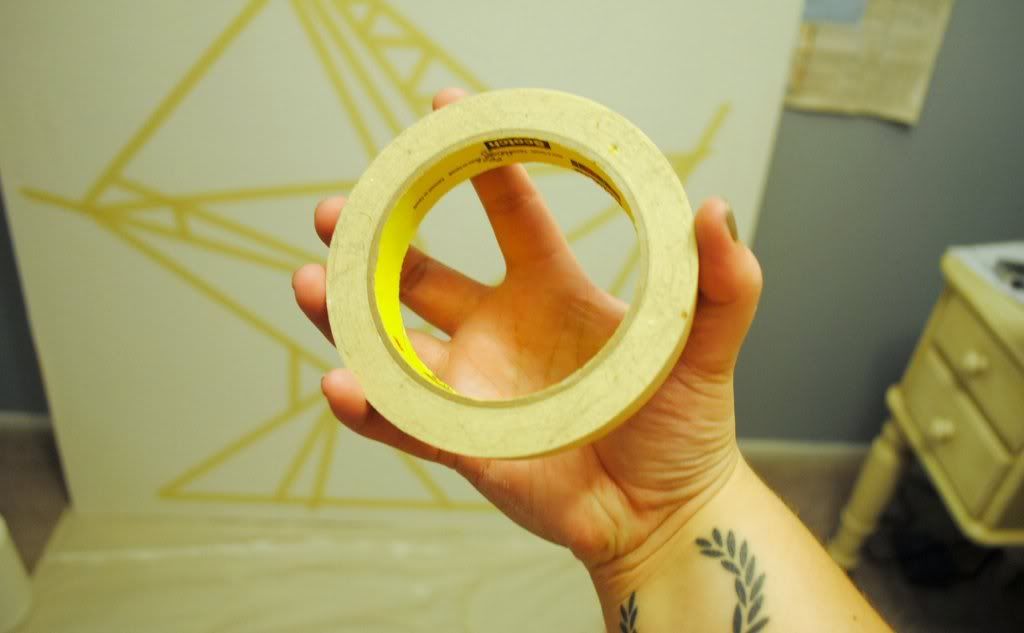
After your background is dry, it's time to grab your masking tape. This tape is awesome as it's sticky enough to stay put and not let too much paint under it but not too sticky that it will pull up paint.
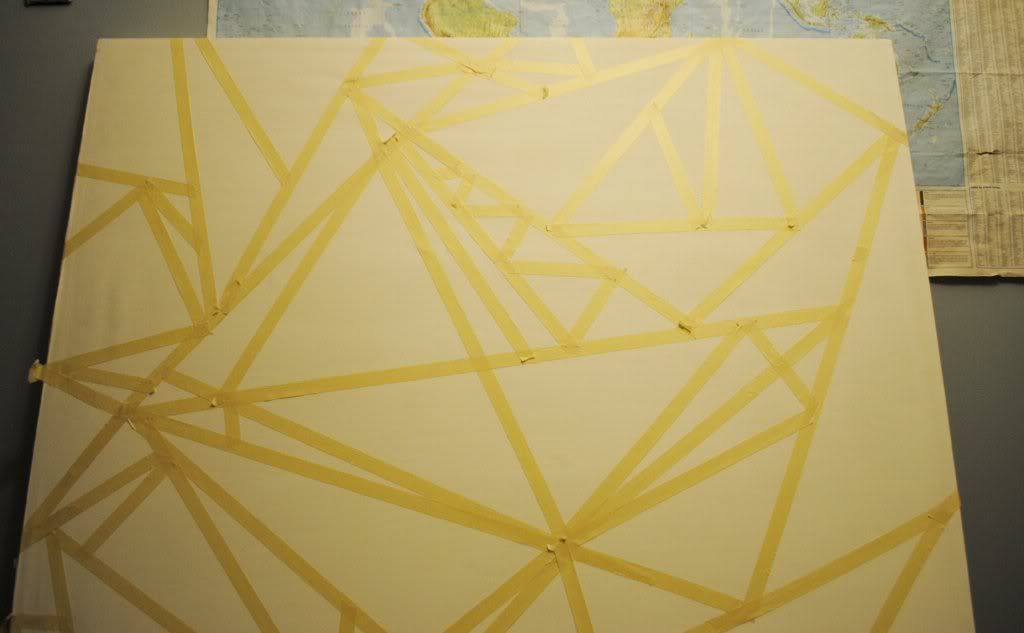
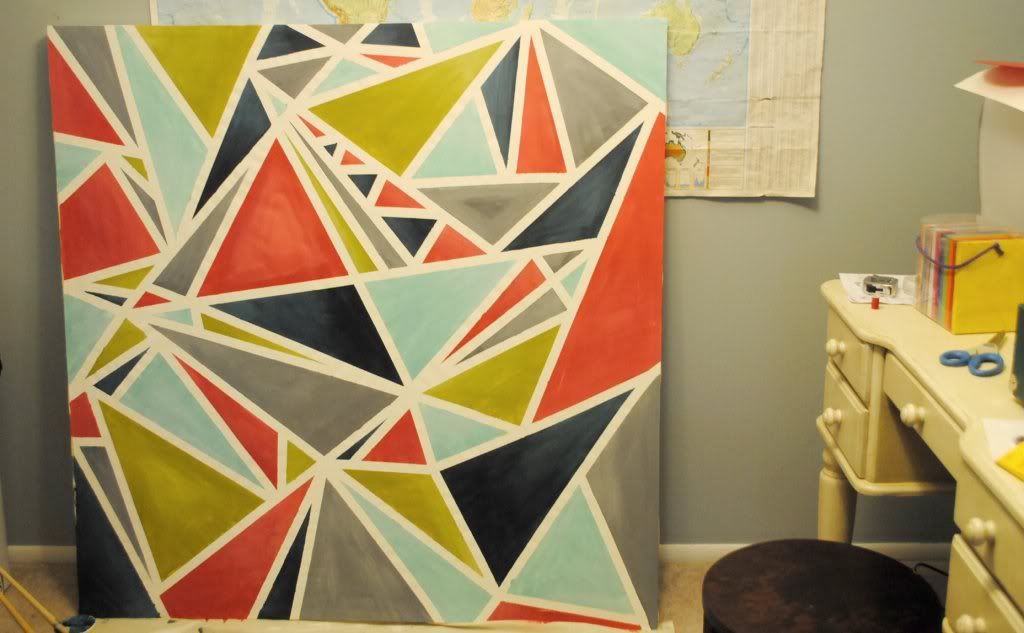
It wasn't too difficult to do only triangles but it did take a while. I tried my best to do different sized triangles and to keep the lines interesting so as to have a good composition. (Did you believe that? I don't know what I'm talking about really.) I suggest watching a funny show like Community while doing this, it helps.
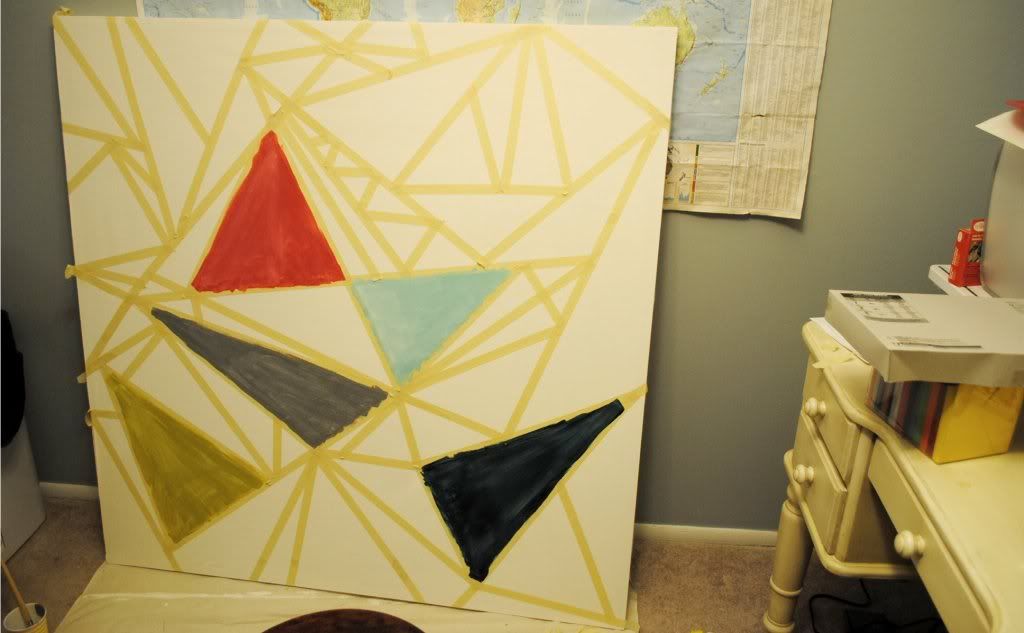
As you can see, I picked some of the largest triangles and painted them one of my five colors. I really wanted to keep from having one color more present than the others and I wanted to keep the pretty evenly spread.
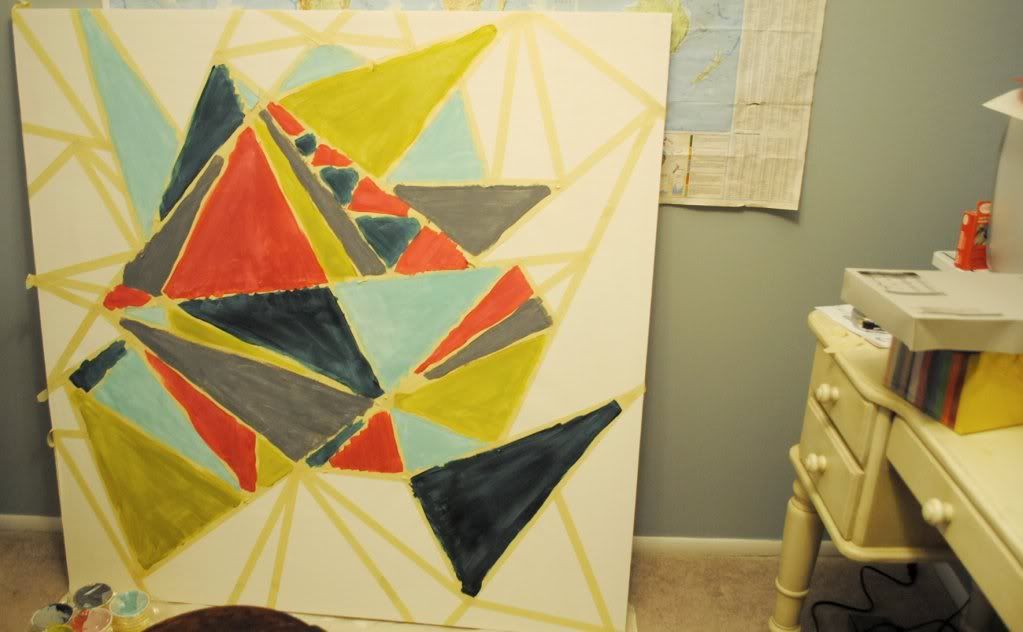
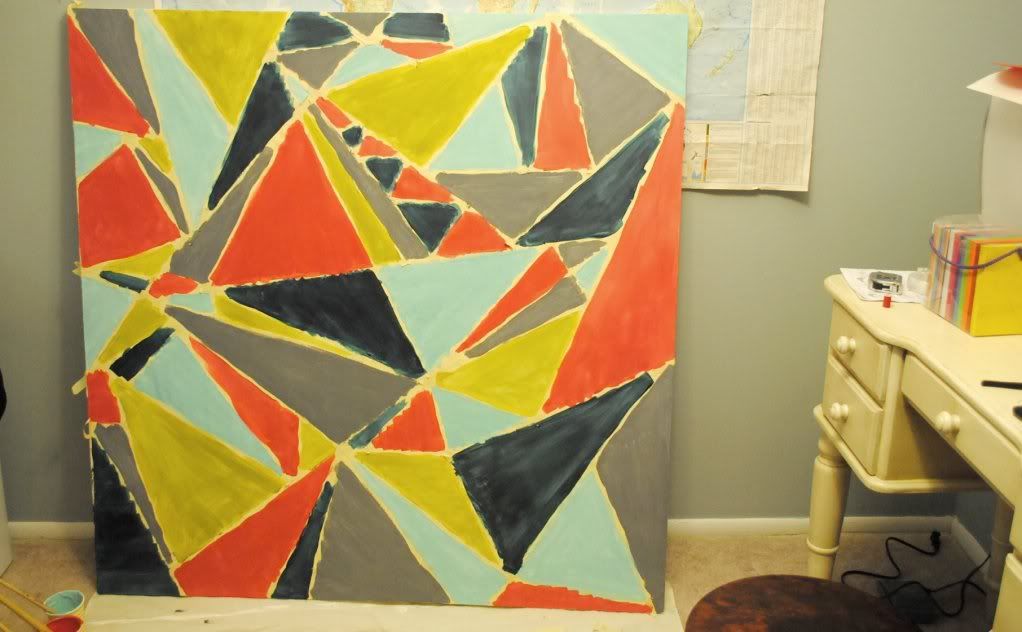
I didn't want the triangles to be too flat, so I added white to each of the colors and highlighted them in different ways just to give them a little bit of dimension.
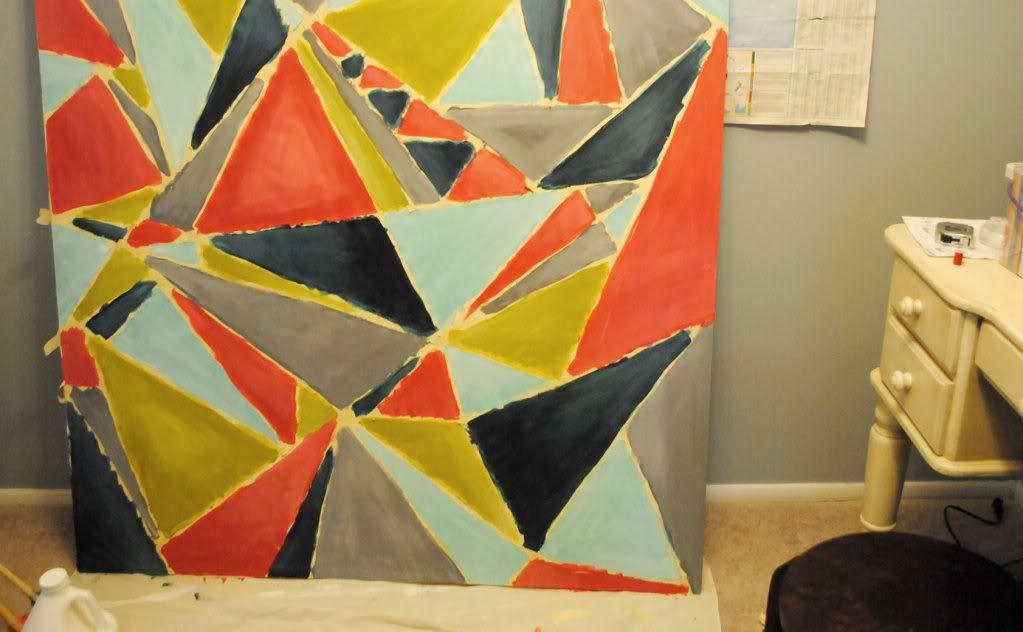
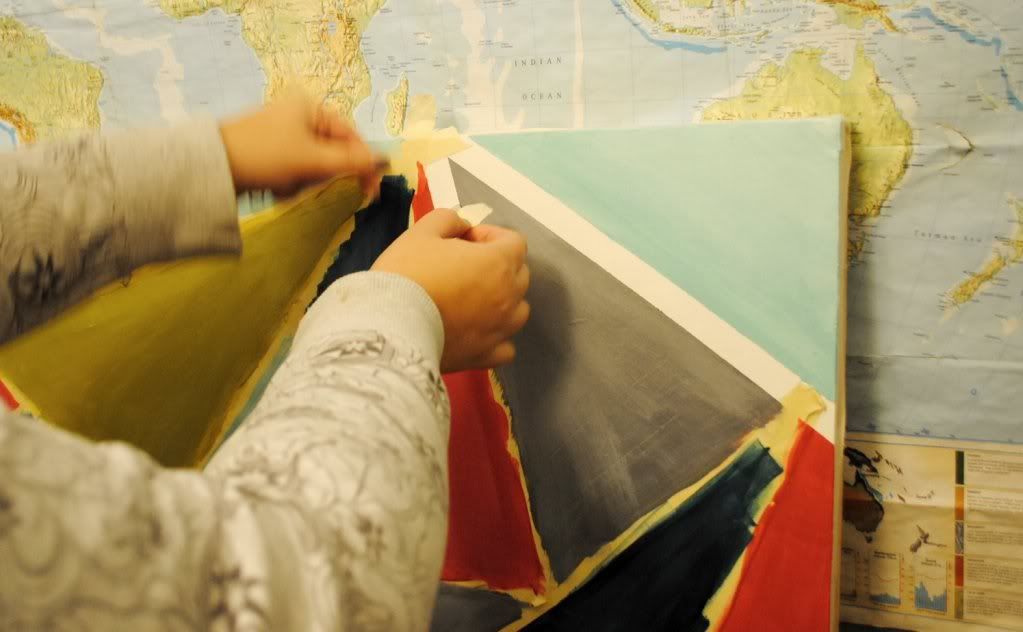
Now it's time for the most gratifying part of this project, peeling off the tape. It comes off really easily, just take your time.
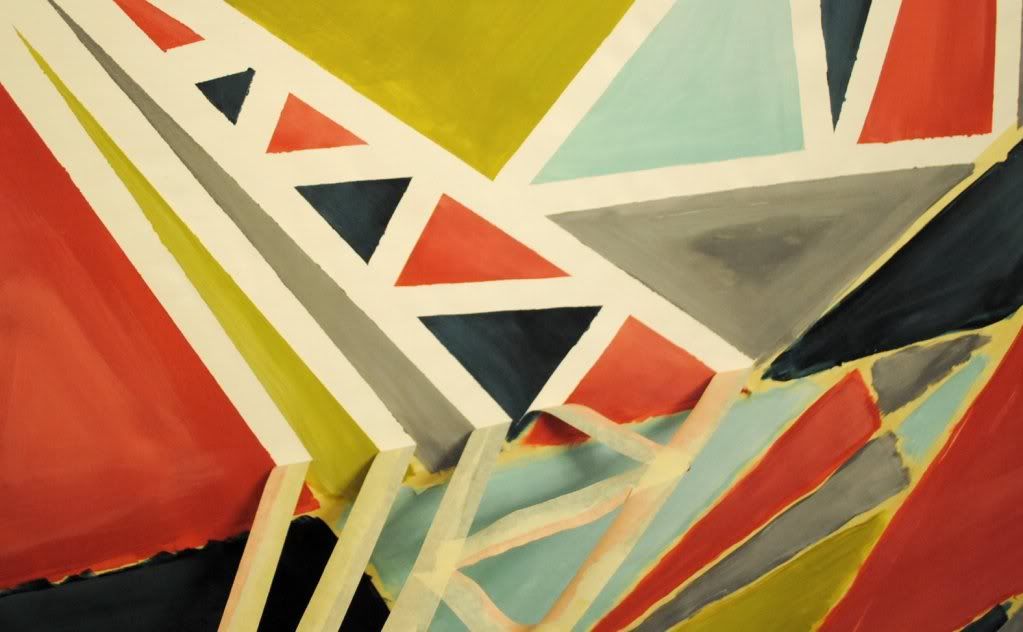
You can see there were a few spots where the paint bled under the tape but just get out your white paint and fix up those white lines.
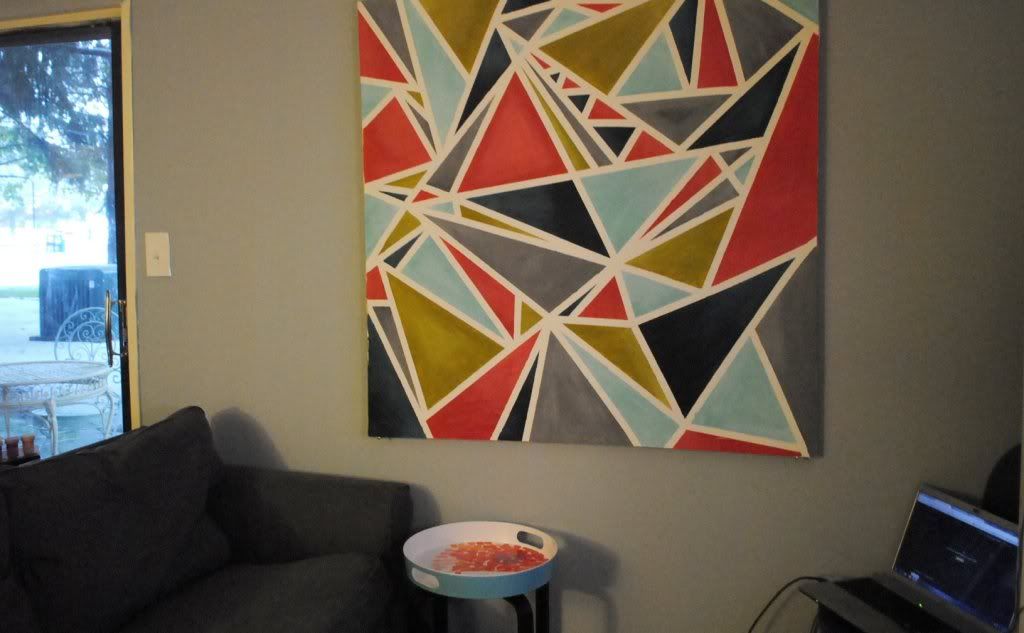
Here is the painting hanging in my living room all pretty-like. What do you think? I like it! If you try out this DIY or something like it, let me see, I would love to check it out.
No comments:
Post a Comment