

Make a pouty face and have your significant other remove all the heavy books from the shelves. Just kidding, I did all the work. Just kidding, I didn't.
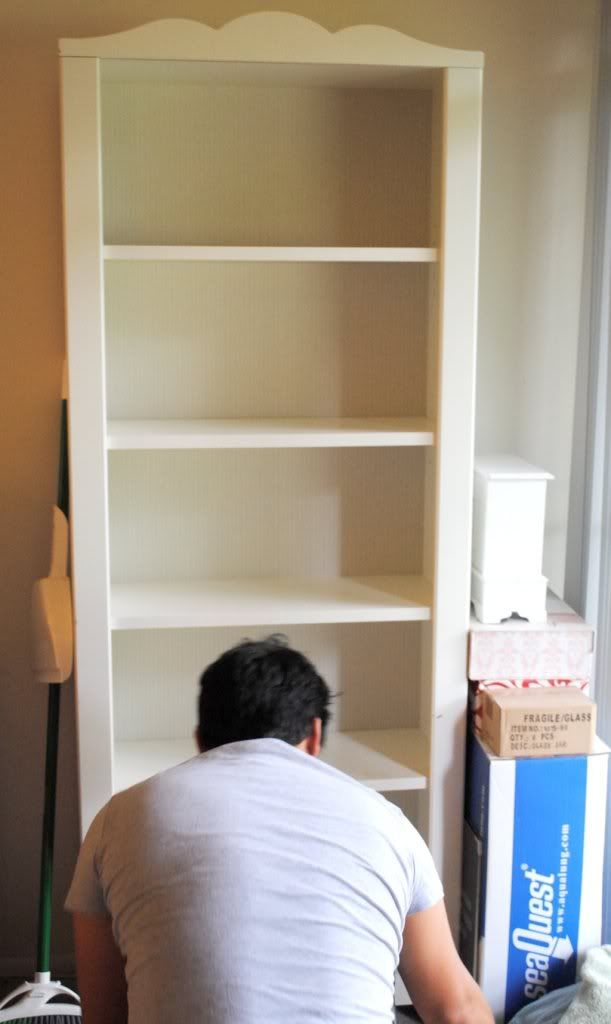
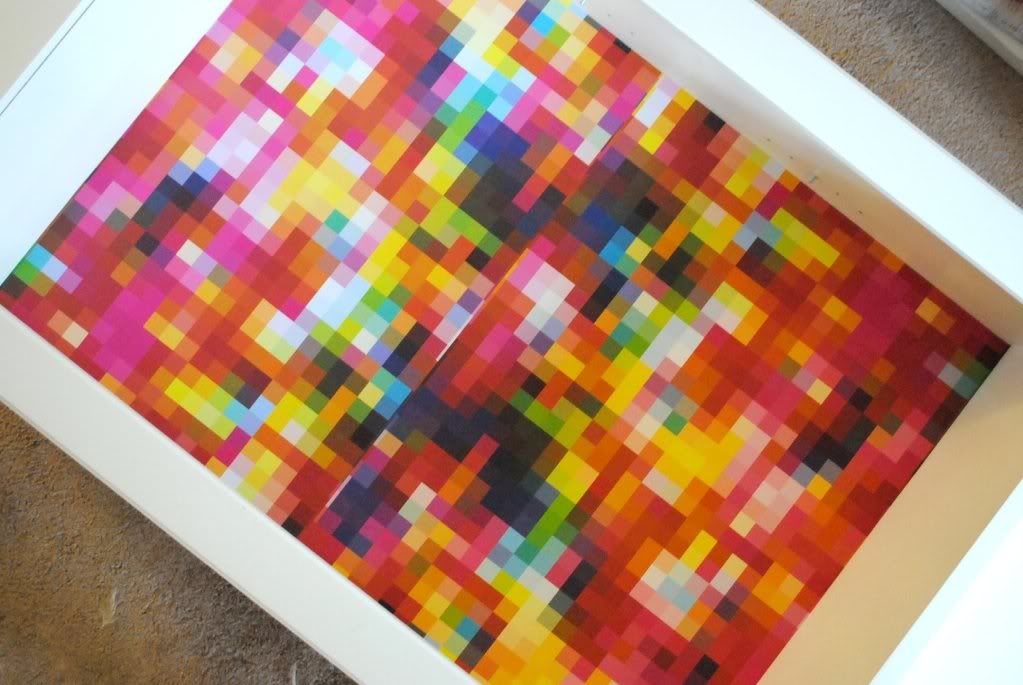
We laid the bookcase on the carpet to do the rest of the work. While it's on the floor, you can clean off the years of dust that neglected housework left for you on the top of the bookcase. Oh, that's just me? Okay... Since the paper we bought didn't fit perfectly, we had to cut it to size. We put the book shelves on top of the sheet so it would be flat and lined it up with one corner.

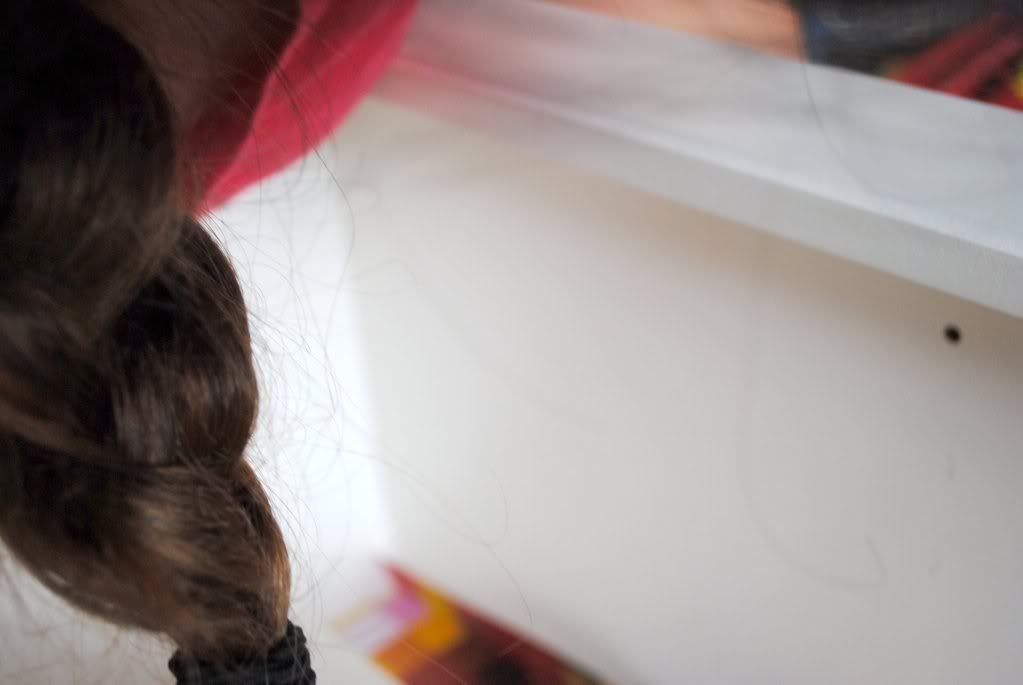
I made a crease in the paper where it met up with the wall of the bookcase. This is so I could cut it easily.

Have your significant other take really relevant pictures so you can put this DIY on your blog...
Give him a "what are you doing?" face and cut the strip of paper. I used a carpet knife, which worked perfectly. An exacto knife would work great too.

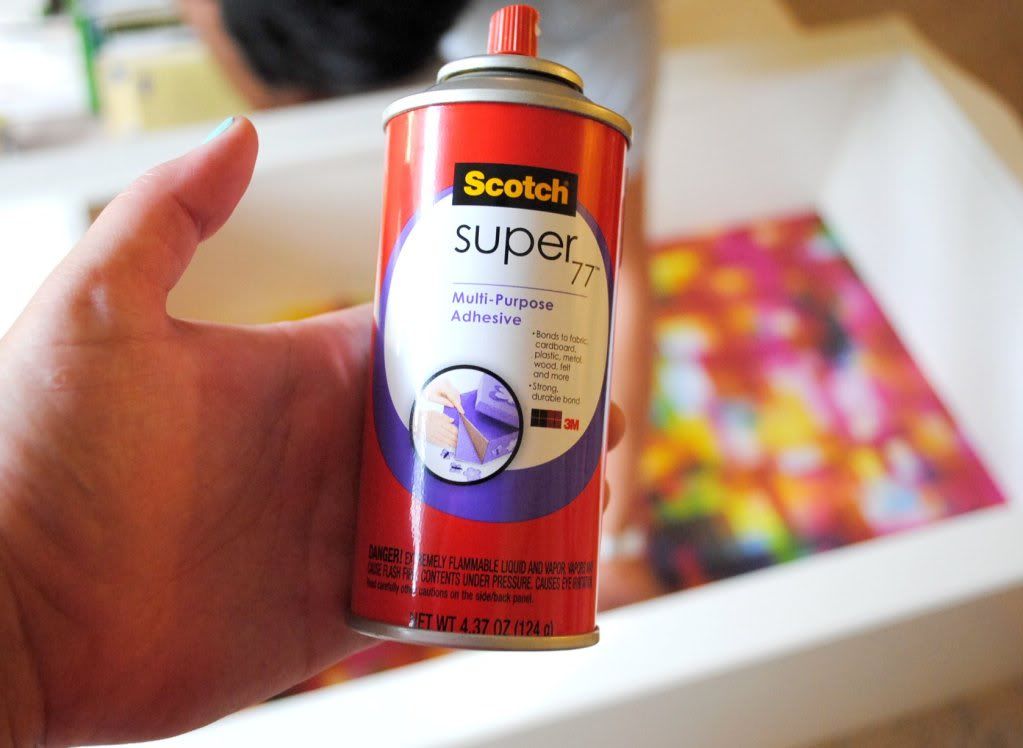
This is what we used as adhesive. It's Scotch Super 77. This is the first time I've actually used this product and it worked REALLY well. I was so happy with it. Now, I should note, the back of our bookcase was cardboard, so we were really gluing paper to paper. I don't know how well this would work with a wood bookcase. Also, we cleaned the bookcase before using this.
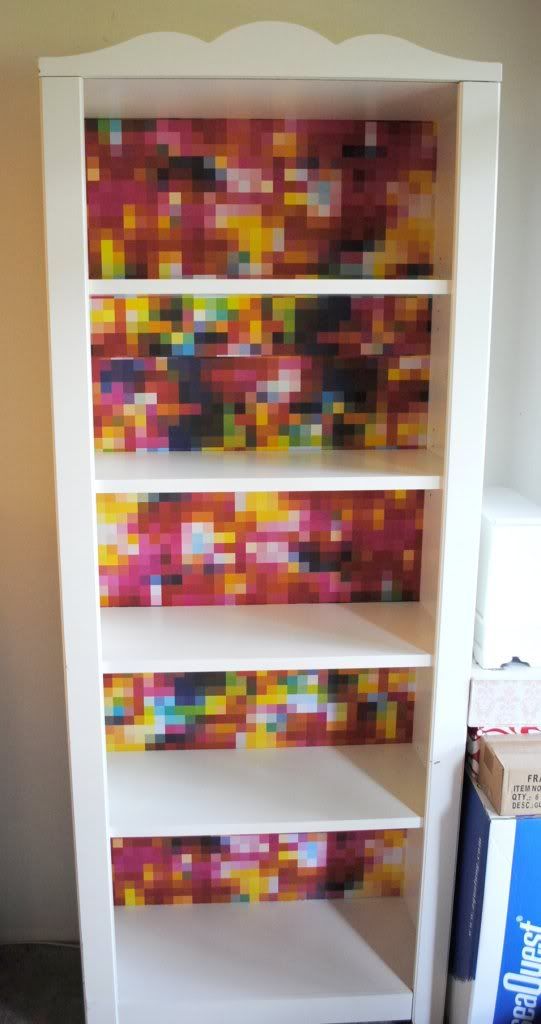
After spraying the back wall of the bookcase, we carefully lined up the cut-to-size paper with a corner. As Will held the paper up, I used the back edge of a paperback book to smooth out the paper as we slowly laid it down onto the adhesive, removing all bubbles. I used a paperback book because of the slightly rounded corner and the straight but flexible edge so it wouldn't rip the paper. This worked great.

If you are a perfectionist, this pattern would be really easy to line up perfectly so you can't see where the papers overlap. I, however, am not a perfectionist. You can see the seam where the papers meet up in the picture below, but with the shelves on, and the books on the shelves, you really can't see this unless you're looking for it.
We used about 3 and a half sheets of paper per bookcase. After we had the case covered, I used a dry paper towel to wipe off any excess adhesive that got onto the paper. The glue easily rolled up and came off. For the walls of the bookcase, I had to use multi-purpose Windex to take off the adhesive but it came off just as easily. Here it is, all done.
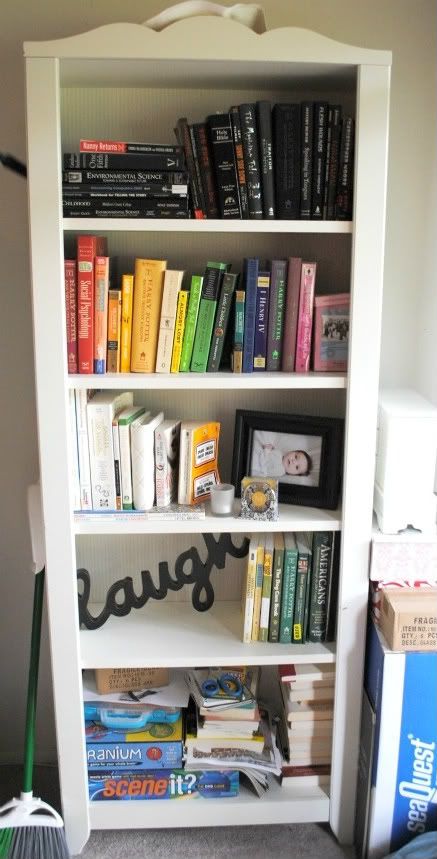
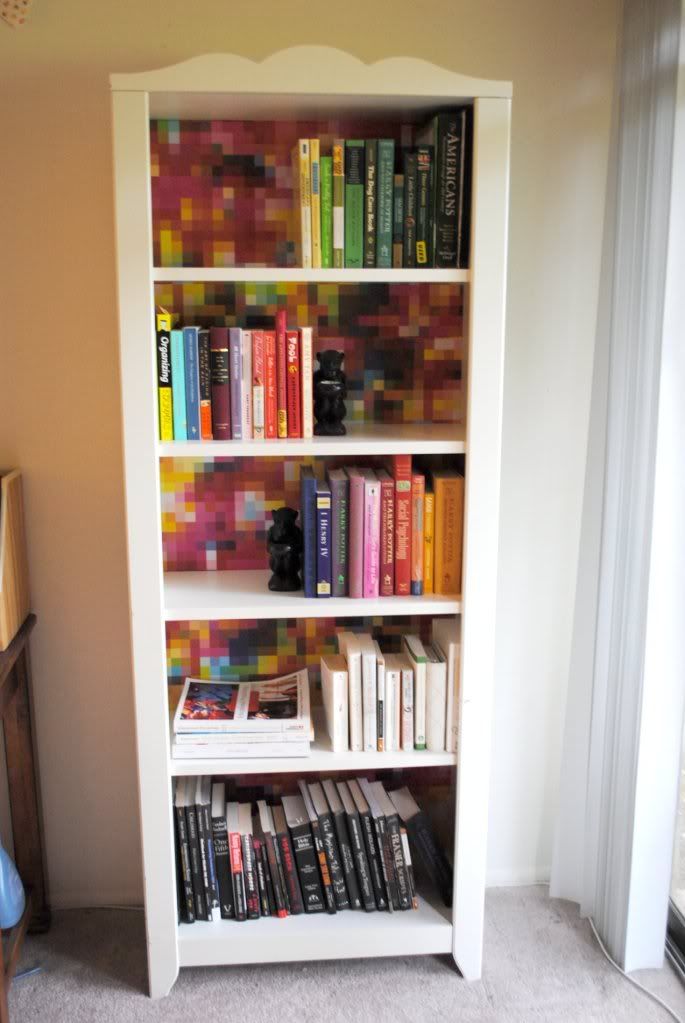
Here it is with the books put back. I love how the paper gives the shelves more depth. It has become a much more substantial piece of furniture instead of just floating in a world of off-whiteness.
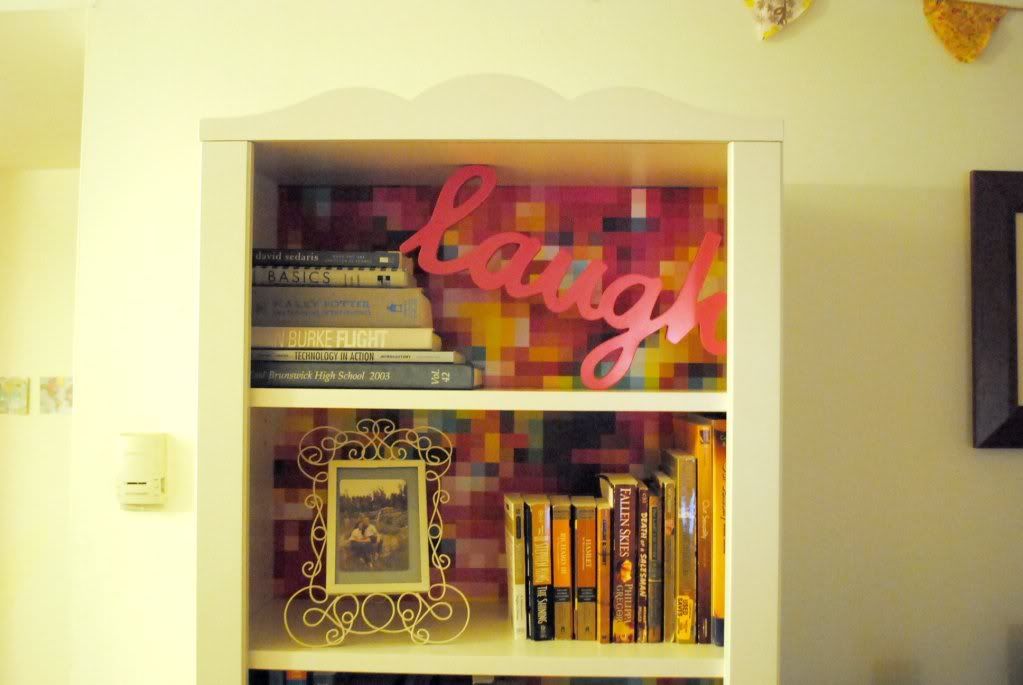
We finished up our matching bookcase and we were good to go! I even spray painted my "laugh" plaque to match. You can see it on the original bookcase picture in black.
So what do you think? Worth it or worth it? :)
3 comments:
What a great idea! Such an awesome touch and adds so much. So I say definitely worth it!
looks great! the pixelated pattern was a great choice
wow wow wow!! Such an awesome pattern choice - definitely worth it. :)
Post a Comment